Ombre lips have become a popular makeup trend in recent years, adding depth and dimension to your pout. Mastering the art of ombre lips can seem daunting at first, but with the right technique and practice, you can achieve a flawless look that will turn heads. In this step-by-step guide, we will break down the process of creating ombre lips, from choosing the right colors to blending them seamlessly.
How To Create Ombre Lips
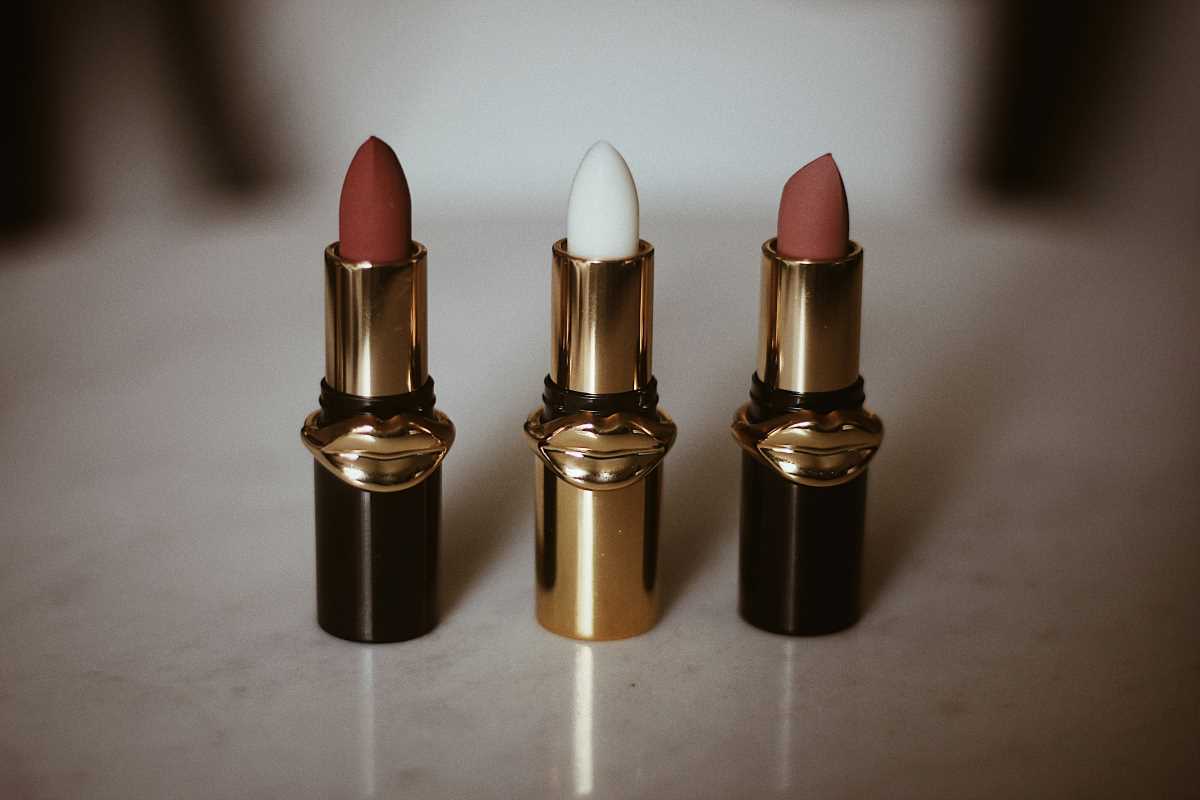
Start by selecting two lip colors that complement each other and create the desired ombre effect. For a subtle look, choose shades within the same color family, such as a light pink and a deeper rose. If you want a more dramatic ombre effect, opt for contrasting colors like a nude and a bold red.
Next, line your lips with a lip liner that matches the lighter shade you have chosen. Outline your lips as you normally would, slightly overlining them if you want to create the appearance of fuller lips.
Fill in the outer corners of your lips with the darker lip color using a lip brush or the tip of the lipstick. Start by applying the color to the corners and then blend it towards the center of your lips.
Using a clean lip brush or your finger, blend the two colors together where they meet in the middle of your lips. The key to a seamless ombre effect is to blend the colors until there are no harsh lines, creating a gradual transition from one shade to the other.
To finish off your ombre lips, you can apply a clear or slightly shimmery lip gloss to add some dimension and shine. Press your lips together to blend the colors even more and set the look in place.
Final Thoughts
Practice makes perfect when it comes to mastering the art of ombre lips. Experiment with different color combinations and techniques to find the look that suits you best. With a little patience and creativity, you'll be rocking flawless ombre lips in no time.
(Image via Adobe)


